

Please support if you like my work by payment through upi: sinhamit@icici or payment by bank
account name: Amit Kumar Sinha,
account number: 2646728782
IFSC code: KKBK0005660
SWIFT: KKBKINBB
XAMPP Installation in Category: HTML by amit
🕙 Posted on 2023-03-28 at 06:06:23 Read in Hindi ...
How to install XAMPP and start required services?
You should only install Apache and MySQL services in XAMPP.
Because more services you install on your personal computer will consume more Hard Disk space, and when you run those services, which will not be used in near future, more RAM (memory) is also consumed.
Steps to Install XAMPP properly:
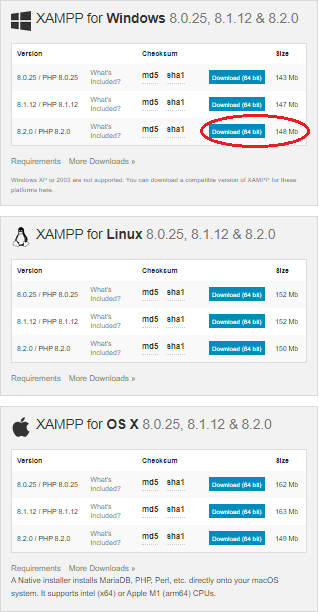
1. Download either 64bit or 32bit software for your Operating System, e.g., Windows, Linux, or Mac. Go to My Computer and select Properties when clicking right-
2. The software will be downloaded in your Downloads folder, or any other location, where you wish. Install XAMPP software with clicking right-
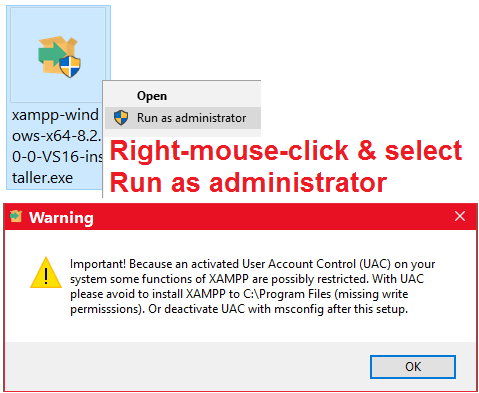
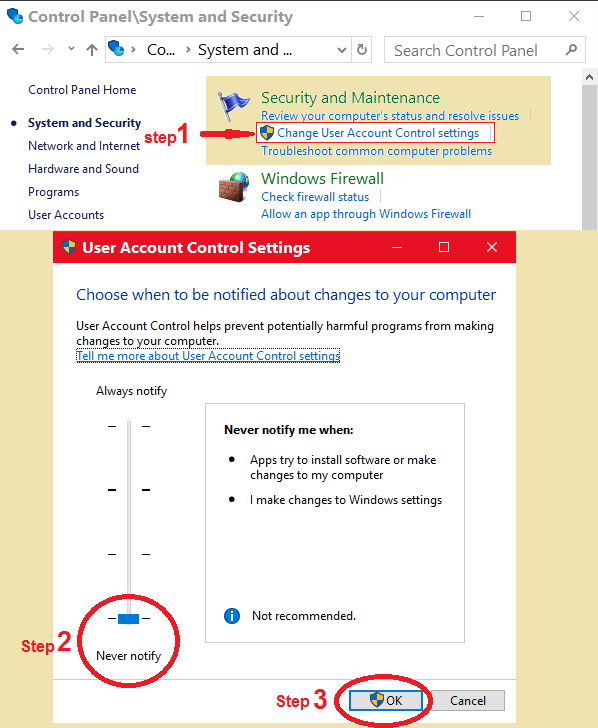
3. Disable or downgrade the User Account Control (UAC) settings in the Control Panel of your computer, and selecting Security and Maintenance section. This setting prevents you from installing softwares from other sources. But, when you downloaded any software from authenticated source, you can install it. Ignore the warning, if it prompts again.
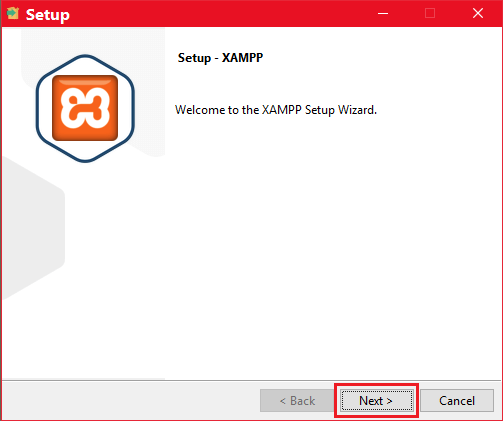
4. XAMPP Setup Wizard will start installing the software. Click with left-
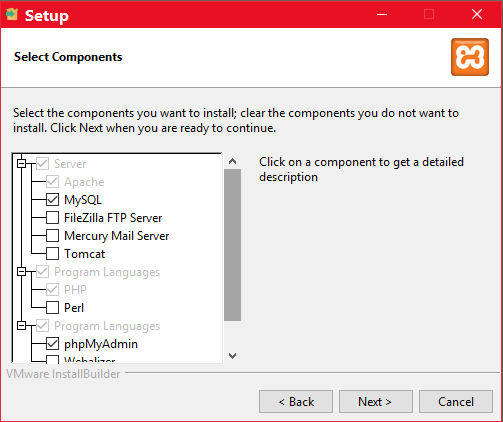
5. Uncheck all other options, except for (a) MySQL, and (b) phpMyAdmin. Apache and PHP will not be unchecked, and installed automatically. Now click with left-
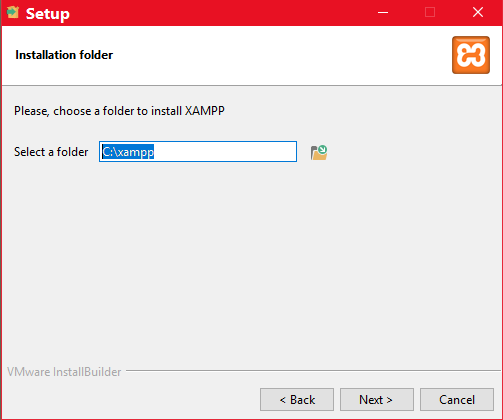
6. Choose the folder, where you want to install the XAMPP software. Default is C:\xampp\. Click with left-
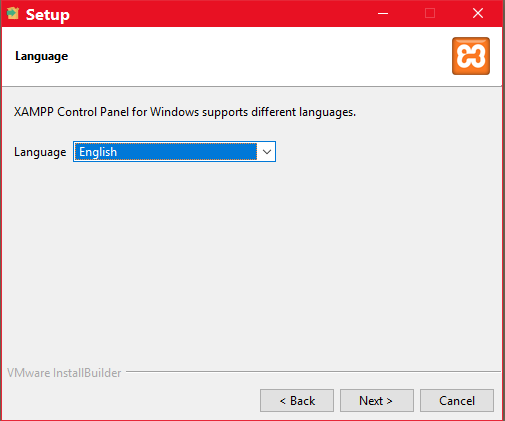
7. Language English is important. You should not select any other option, and click with left-
8. Click with left-
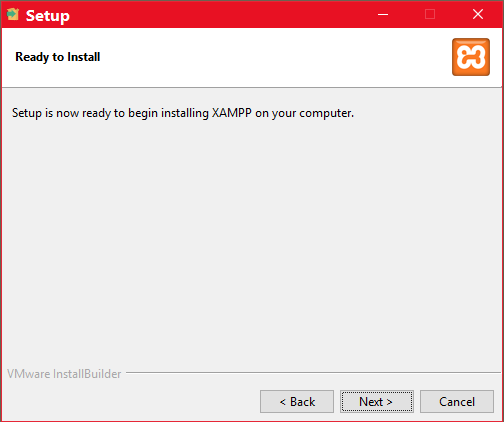
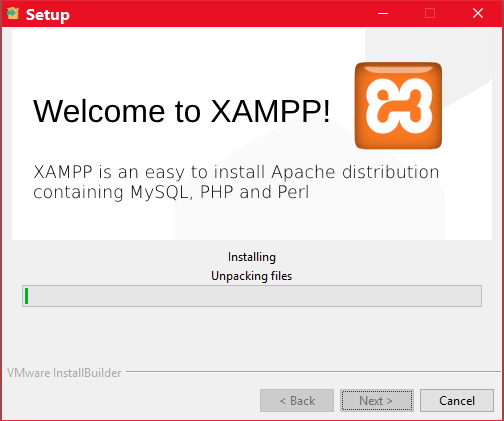
9. Relax and wait till the installation process is completed.
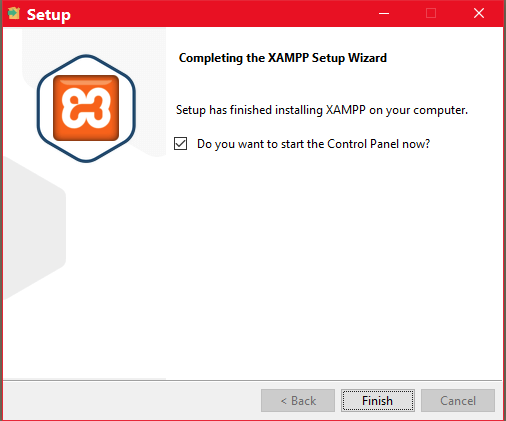
10. You can check the Question asked in the dialog box, and click on the Finish button. Now the XAMPP software installation is complele.
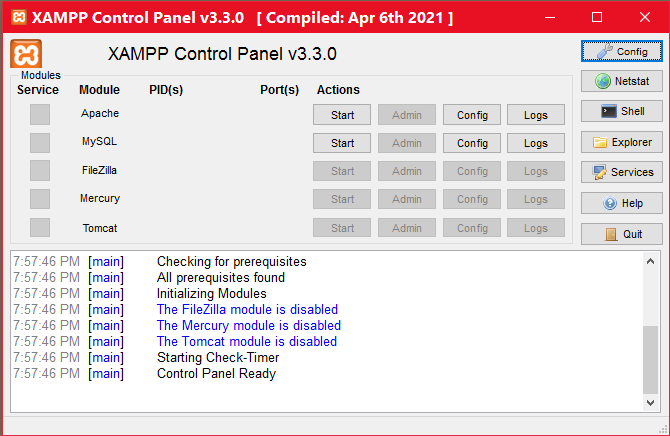
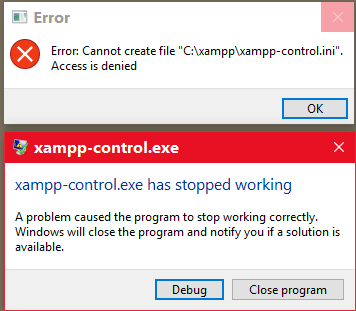
11. You can see the XAMPP Control Panel, and click on the Start buttons on each options, that is, (a) Apache and (b) MySQL. When you click on the Quit button on the bottom-right side, you may see Error.
12. Don't worry, and click on the Close program button on the next dialog box. It will be corrected in next step.
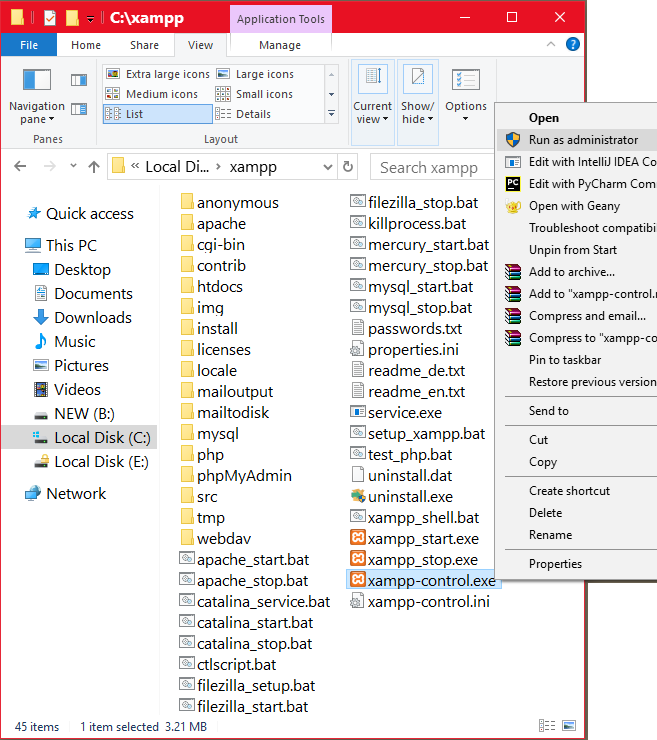
13. Now it is adviced that you should restart your computer. Then, you should open the C:\xampp\ folder or where you have installed the XAMPP software. You can also select the XAMPP Control Panel from Start menu. Now click on xampp-control.exe file with right-
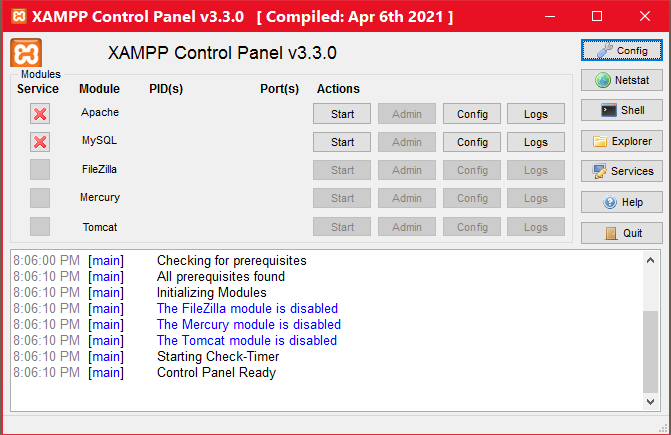
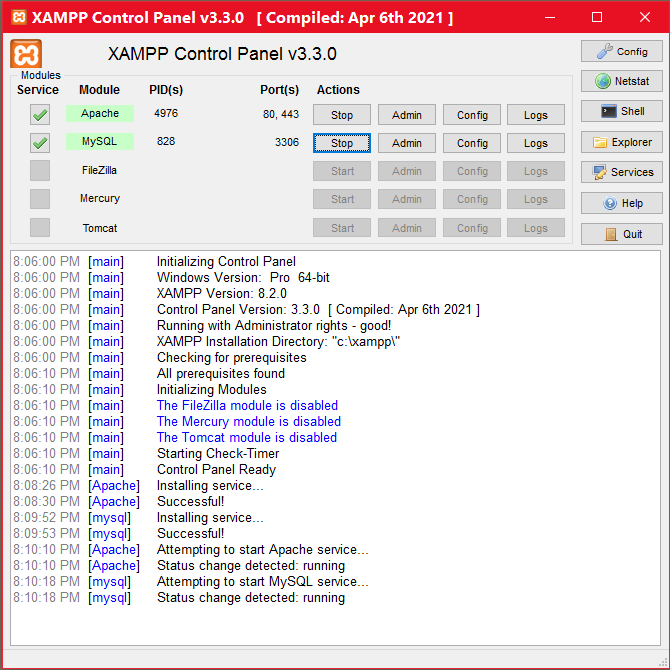
14. XAMPP Control Panel will start, and you can now see × button active, below the Service section. Click with left-× button.
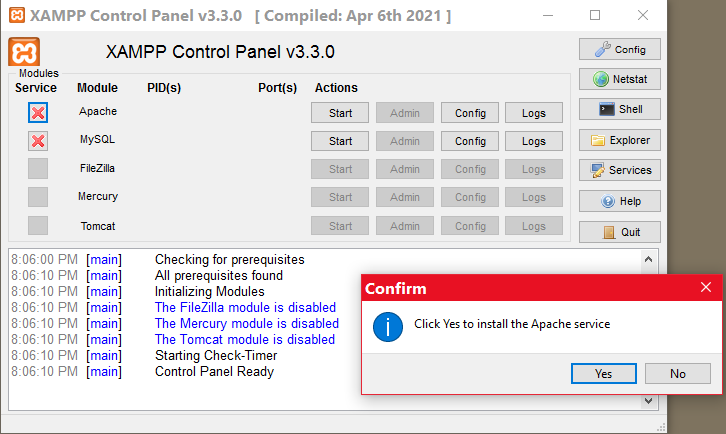
15. When you click with left-mouse-button on × button left of Apache module, a dialog box asks you to confirm, whether to install the Apache service. Click Yes with left-
16. When you click with left-mouse-button on × button left of MySQL module, a dialog box asks you to confirm, whether to install the MySQL service. Click Yes with left-
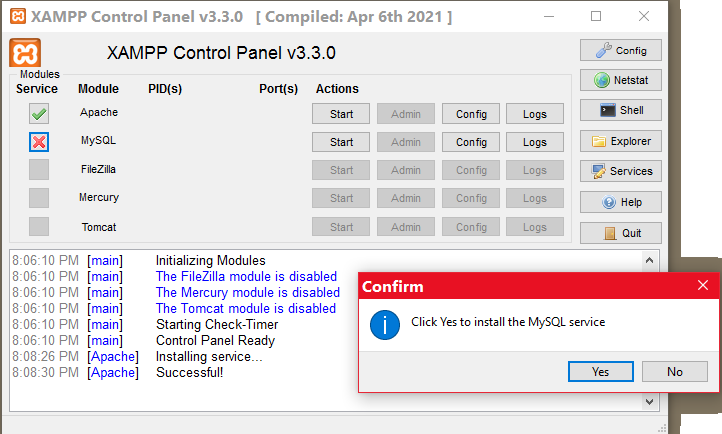
17. Now, click on each Start button on the right side of both Apache and MySQL modules as shown in above image. Both Apache and MySQL modules will become GREEN and you can see that all things are working properly. You don't need to Stop these services. Now, you can click on the Quit button.
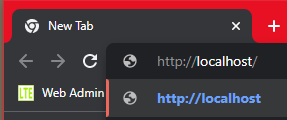
18. Now open any of the web browser installed on your computer, for example, Google Chrome or MicroSoft Internet Explorer or Edge, Safari, etc. It doesn't matter, on which web browser you prefer to work. You can now type exactly: http://localhost/ in the address bar of the web browser. Don't type https://localhost/ because you are working on local SERVER (IP address is 127.0.0.1). You can also type http://127.0.0.1/ in the address bar of your web browser, and you will the same result.
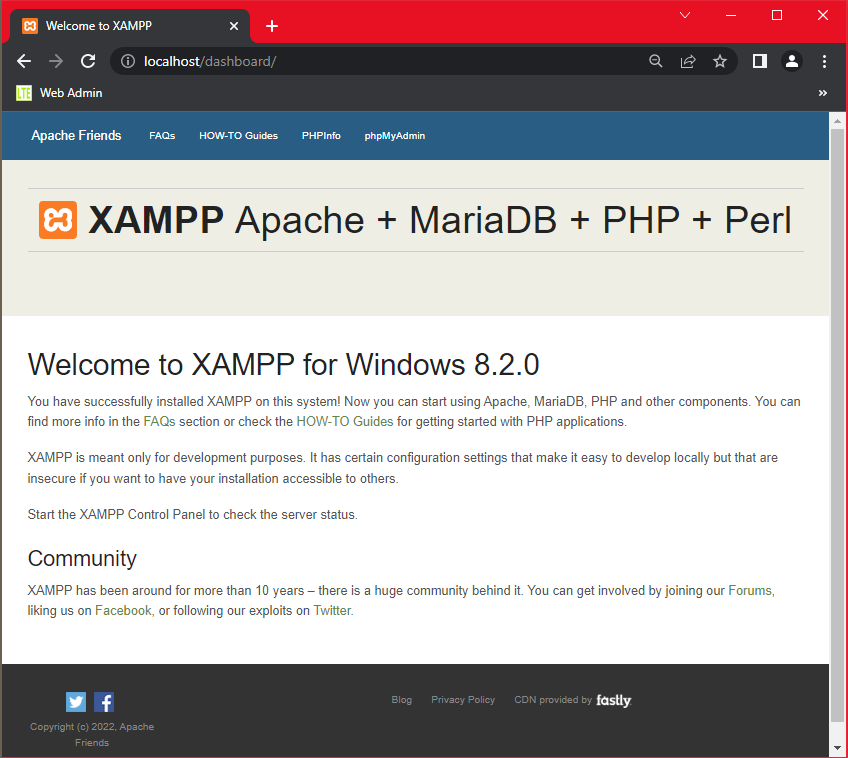
19. Now, you will see the XAMPP Welcome page in your web browser, which means that Apache module is installed and working properly.
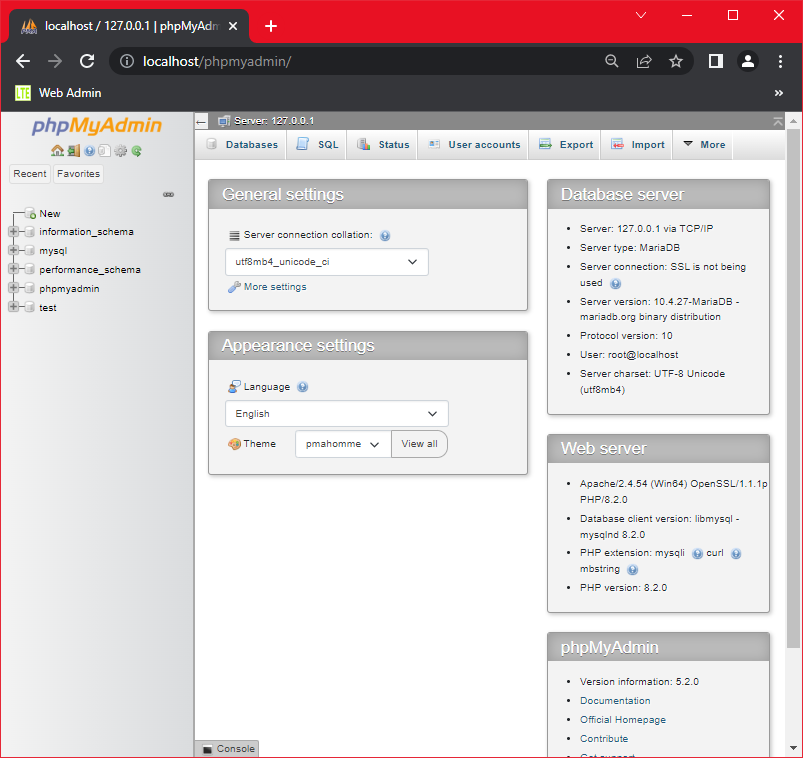
20. You can also type http://localhostphpMyAdmin is showing all databases available in your MySQL module. You will create new database and tables later.
Now let't create Project Folder in VSCode and do some coding! Wish you Happy Programming.
Leave a Comment:

Amit Sinha March 2nd, 2023 at 9:30 PM
😃 😄 😁 😆 😅 😂 😉 😊 😇 😍 😘 😚 😋 😜 😝 😶 😏 😒 😌 😔 😪 😷 😵 😎 😲 😳 😨 😰 😥 😢 😭 😱 😖 😣 😞 😓 😩 😫 😤

Ribhu March 3rd, 2023 at 9:30 PM
🐵 🐒 🐶 🐩 🐺 🐱 🐯 🐅 🐆 🐴 🐎 🐮 🐂 🐃 🐄 🐷 🐖 🐗 🐽 🐏 🐑 🐐 🐪 🐫 🐘 🐭 🐁 🐀 🐹 🐰 🐇